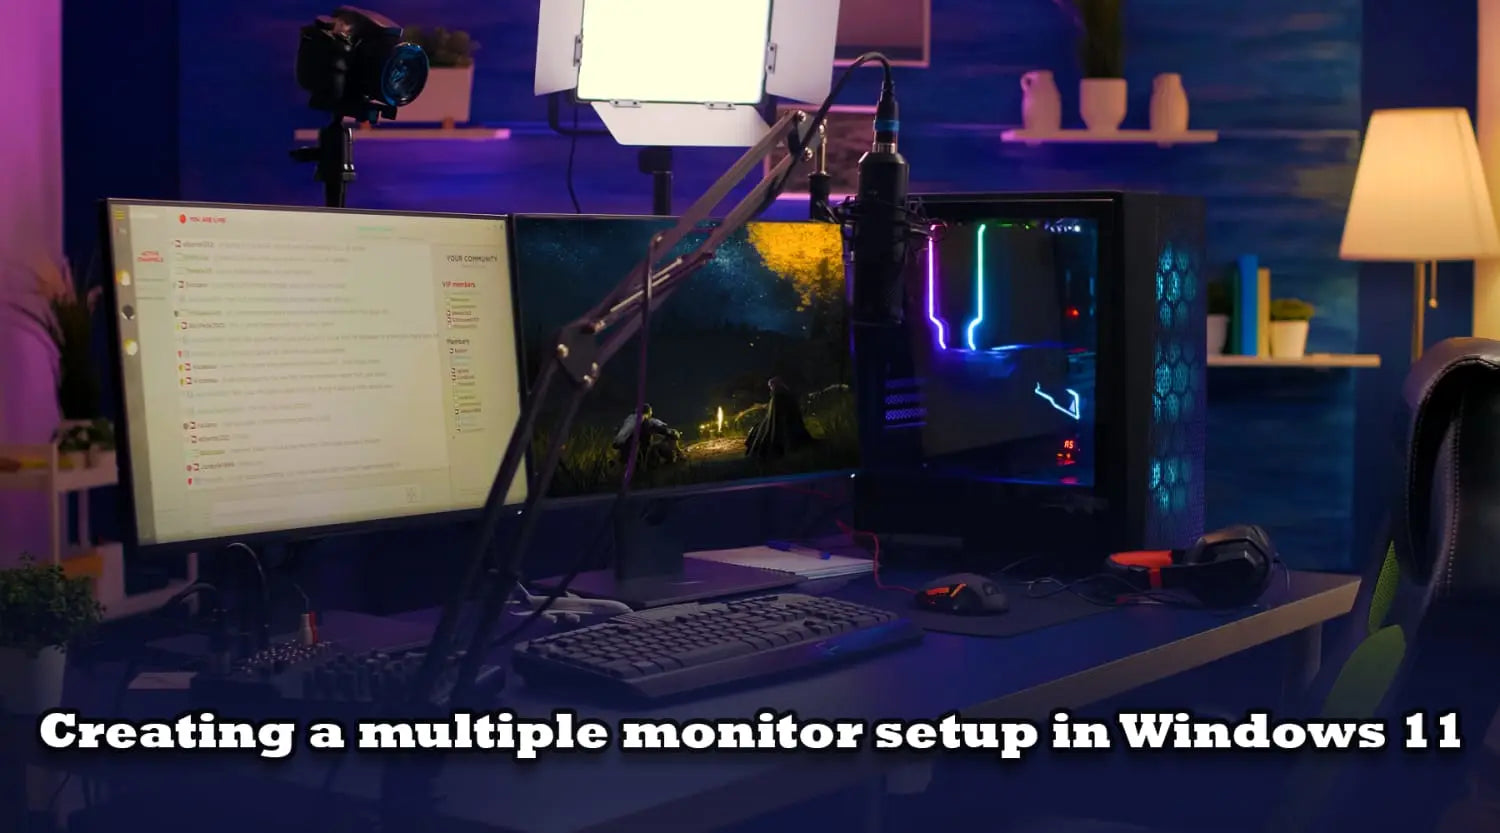
With livestreaming becoming a viable option for people to create a career for themselves, it’s important to be aware of the technology required for your set up. And it’s practically imperative that you’ll be needing multiple monitors.
The first thing aside from price when shopping for a monitor would be size – it’s gotta fit on your desk after all! And if you need multiple monitors for your job or for casual and professional streaming, then you’ll be pleased to hear that Windows 11 supports multiple monitors (just like its predecessors).
Monitors come in all shapes and sizes with varying prices to boot. Anything from portable to gaming to even monitors designed specifically for photography and photography software. Whether it’s for your career or a budding hobby, adding a second display could prove to be a game changer for your set up. So to save you a headache, we’ve put together a guide to make sure that any monitors you add to your set up will be compatible.
- Make sure the display ports match
HDMI ports are the usual bread and butter for laptops and PCs, a lot of the latter tend to have multiple outlets for displays, such as USB ports or even wireless connections. Usually monitors these days will be HDMI compatible, it’s never a bad idea to double check that your computer is compatible with your new monitor before you buy.
- Display settings in Windows 11.
By going into settings (finding the cog on your Windows button in the bottom left, you can find the System sub menu where you can find display settings). Alternatively you can press the "Windows key and I" to open the settings) and click Setting > Display.
In the display menu there is a diagram showing what monitors you have connected. By default, all monitors connected will automatically display your desktop in mirrored mode, and so this is something we can change in the display menu.
On the diagram, it will show you how many monitors you have and how you want them displayed. By clicking “identify” and Windows will display a large digit on each screen so you know which is number 1 and 2 and so on.
By dragging the newly identified monitors you’ve connected, you can instruct Windows where each monitor is situated on your set up. By lining each monitor up to look like how it is on your desktop, Windows will then know where each monitor is. For example if you have a monitor directly on top of your main monitor, drag the outline to on top of the main monitor. Once you’ve correctly arranged and configured, click on the image of your second monitor, and use the drop-down menu next to the “Identify” button to select the “Extend desktop to this display” option.
- Watch the magic!
If you’ve configured all your monitors up correctly, try testing it out! If you’ve configured them correctly, your mouse cursor should be able to travel around all monitors you’ve configured and from one to the other. If you send the mouse towards another monitor, the cursor should appear on the second monitor and disappear from the previous. If it doesn’t move in a straight line as it travels between monitors, you may need to tweak the position of the displays, so find the right position that works for you.
- Configure your main monitor
Now it’s time to choose which monitor will be your main display. Whichever monitor will be your main will display the taskbar by default, although if you prefer you can have your taskbar shown on all of your monitors.
Simply click the “Multiple displays” section in Display settings, and, once ensuring you have the monitor selected that you want to make the main display, check the box labelled “Make this my main display”.
- Configure which apps will show on which monitors
After you have chosen which monitor will be your main display, you can now change which application will run when Windows starts up on a certain display in this same menu. By default, Windows will handily remember which monitors have been configured to which monitor, so next time you launch, it will save you some time. If you preferred this didn’t happen, you can simply uncheck the box “Remember window locations based on monitor connection”. By disabling the “Minimise windows when a monitor is disconnected” option, when you unplug a monitor any windows that were open on it will be transferred to the next available monitor without minimising them.
- Personalise your set up
Now you can personalise each monitor to fit your tastes and preferences. You can change individual settings such as whether a monitor should be displayed in portrait or landscape by selecting the monitor you which you change orientation and look in the “Scale and Layout” section. From the “Display orientation” drop-down menu, you can choose either portrait or landscape. This menu can also configure the scale of each monitor for how big on-screen items are displayed. High resolution monitors can display, items on-screen may display too small to be seen easily, and so the scale and layout section can help here. The Scale drop-down menu has various settings in percentages that can up the scale all the way up to 350%, so tweak and find the scale that works for each monitor.
Text size can also be configured here by clicking the arrow on the right-hand side of the “Scale” section. You can click the text size section and use the slider to make the text as large or as small as you need. Taskbars can also be configured for each monitor if you want multiple monitors to display the taskbar. Right click on the taskbar you want to change if you have multiple taskbars on your individual monitors and click the option “Taskbar behaviours” section to customise each taskbar. Check the box called “Show my taskbar on all displays” and then use the drop-down menu labelled “when using multiple displays, show my taskbar apps on” to choose whether taskbar icons for active apps should be displayed on all monitors or just the one that you’ve assigned to a particular monitor.
We hope our advice will help you get your set up the way you want it; we offer tech advice on our live chat service if you visit our website, and if you want to add to your monitor set-up, we have many monitors ready to ship for next day delivery. Come and browse our top-of-the-range monitors and make your set-up your own.